Creating an Adventure Note
Once in your campaign, go to Adventure Notes in the left navigation. Click the green "New Adventure Note" button in the top right.
Editing an Adventure Note
Edit adventure notes by clicking the small green "Edit Adventure Note" in the bottom right of each note box.
Form Details
If you are editing a note, you will see an extra banner along the top which lists the author, created date and time, and the latest updated date and time. If you are a GM, you can change the author by clicking the small orange "Change Author" button and selecting another player from the dropdown.
The first form field is the title of your adventure note. Next, you can select a parent note from the dropdown if you wanted to make a hierarchy. You can also select a folder to help organize your posts (if you have any folders available).
Next in the form you'll see Publish & Display Settings. If the "Published?" toggle is set to "No", your post will not be published, and will be located in the Your Drafts box on the main adventure notes. Your drafts are only visible to you. Not even the DM can see them.
The publish date will default to the day you create the journal. You can set a custom publish date to reorder your notes. Notes are ordered by publish date in descending order.
If the Pinned? toggle is set to "Yes", your note will be "sticky" and appear at the top of lists, regardless of publish dates. This is useful if you have a set of information you want easily accessible.
If the "Visible to Party (Public)?" toggle is set to "Yes", anyone in the campaign will have access to see your note. If it is set to "No", it is only visible to yourself and GMs.
If the "Editable by Party?" toggle is set to "Yes", AND if your post is also "Visible to Party", then anyone int he campaign will have the ability to see and edit the adventure note. This is useful if multiple people collaborate about the same topic. Please note, you must make sure only one person is editing the note at a time to avoid overwriting upon save, especially with auro-save.
The next rich text editor allows you to format your note content. Add links, color your text, and more! This field autosaves your work every minute, once the journal post has been created. You will see a small green banner flash any time the content is saved. If you accidentally click away and go back, you will see the alternate auto-saved content in a separate box for you to compare.
In the next expandable section, if you are a GM, you will see an additional text editor for Game Master Secrets. This allows you to add additional secret information to notes that your part will not have access to.
In the next expandable section, you have the option to upload an image for your journal. This will appear as a small thumbnail in the corner of the post that you can click for a zoomed-in view.
Finally, the last expandable section allows you to connect the note to Events. This way, you can attach the notes to a scheduled game session.
Click the blue Create or Update Journal Post button at the bottom when finished.
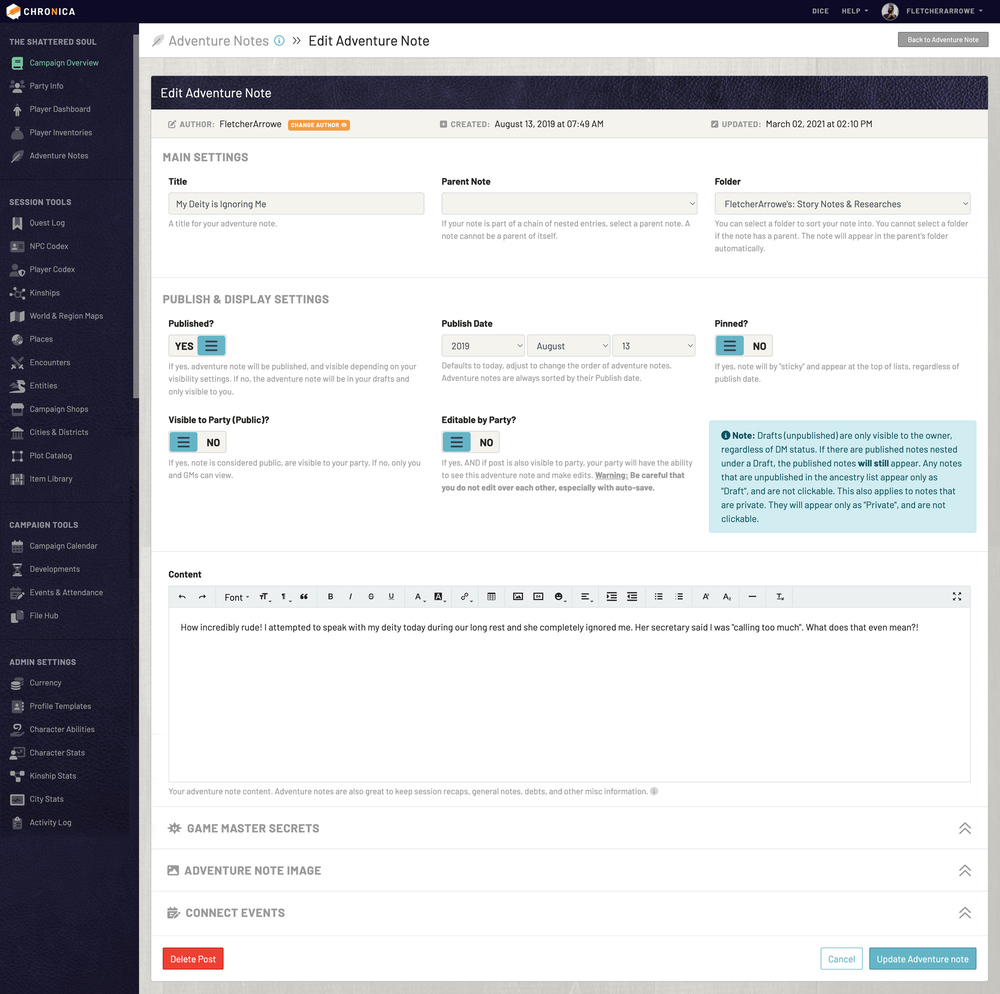 Create / edit note form
10.1.2 Adventure Note Drafts
The second panel on the right on the main Adventure Notes page contains your drafts, which are notes that you have not published yet. These are only visible to you. The GM cannot see your drafts.
Click a title to see a preview of the note, or use the small green "Edit" button to make changes. When you are ready to publish a draft, edit the note and change the "Published?" toggle to "Yes" and save your changes. This will move the note from your drafts panel to the main adventure notes list.
 Chronica adventure notes drafts panel